Remapping Mouse DPI Buttons to F13/F14
Some light hex-editing
My mouse (a HyperX Pulsefire Core) has programmable DPI+/- buttons. I’d like to be able to remap these with AutoHotKey (winget install AutoHotkey.AutoHotkey), but I don’t want to take up a normal keyboard slot. My keyboard does not have a second function key row, so all of F13-F24 are ideal candidates. I chose F13 and F14, to keep things straightforward.
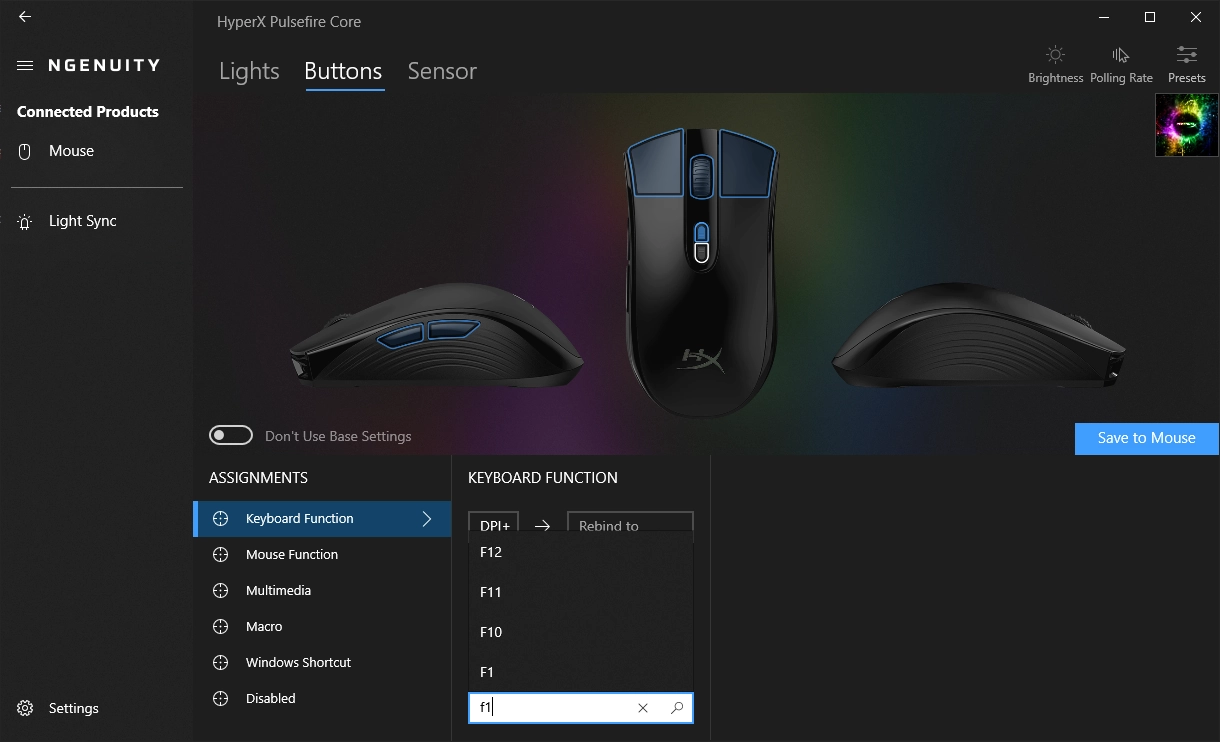
HyperX ships its own customization software: HyperX NGENUITY. Fortunately, all changes are saved to the device itself, so we don’t need to keep it around. Unfortunately, it only supports button remapping to standard keys.

Fig 1: The search bar doesn't show F13
NGENUITY allows us to import and export presets as files. In theory, we can construct our own preset file with bindings to F13 and F14. Since the files it exports are a binary format, we will have to do some investigation to figure out what we need to change.
I exported two presets, one with DPI+ mapped to W, and one mapped to Q. We can open these files in any hex editor (I use HxD, available with winget install MHNexus.HxD on windows).
Using the diffing feature, we can a single byte difference between the files:

Fig 2: The different byte lies at 0x08F9
This is great! This byte almost certainly controls what the DPI+ button is mapped to. We can use the same approach to identify the location of the DPI- binding.
Looking at the difference, 0x1A is used for W and 0x14 for Q. Some searching reveals that these are USB HID usage codes. Using the USB HID Usage Tables we can find our bytes for F13 and F14: 0x68 and 0x69.
After replacing the relevant bytes, we can import our modifed preset back into NGENUITY. The interface doesn’t show the buttons as bound to anything, but after saving the configuration to the device, the DPI buttons are emulating the right keys.